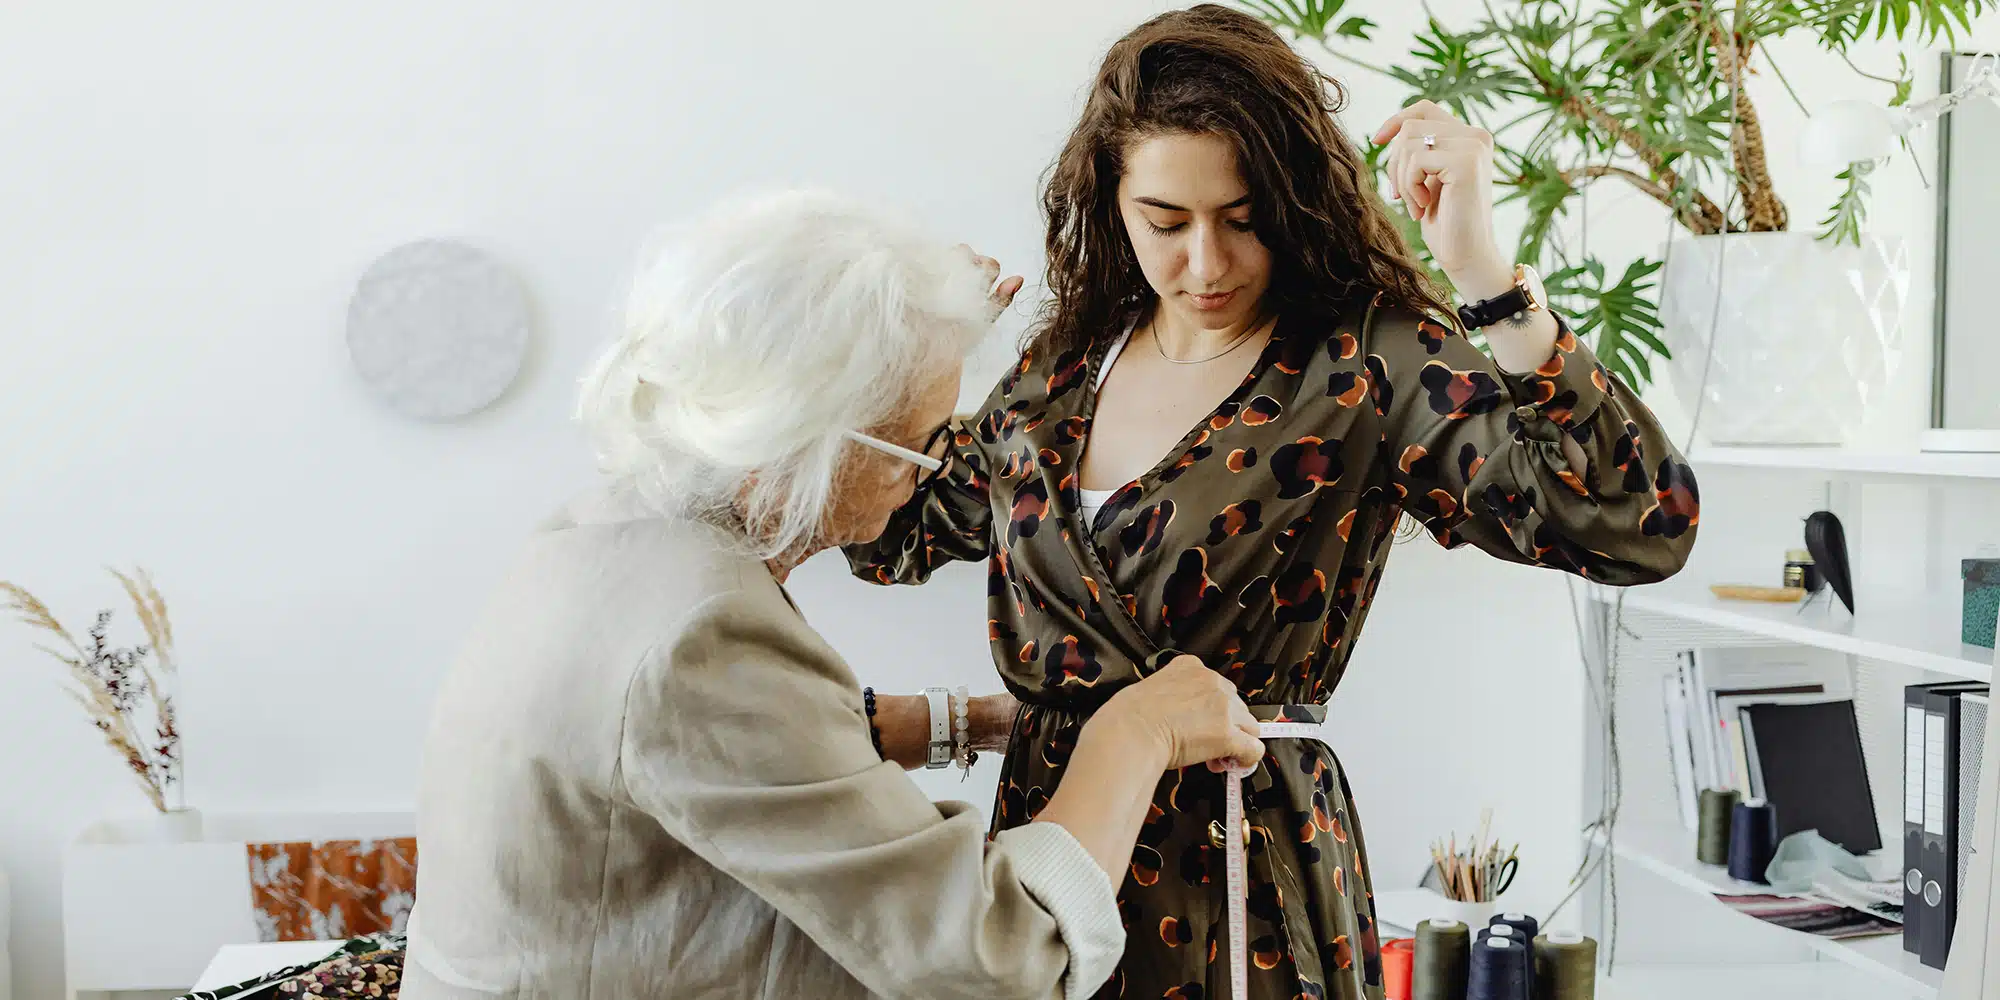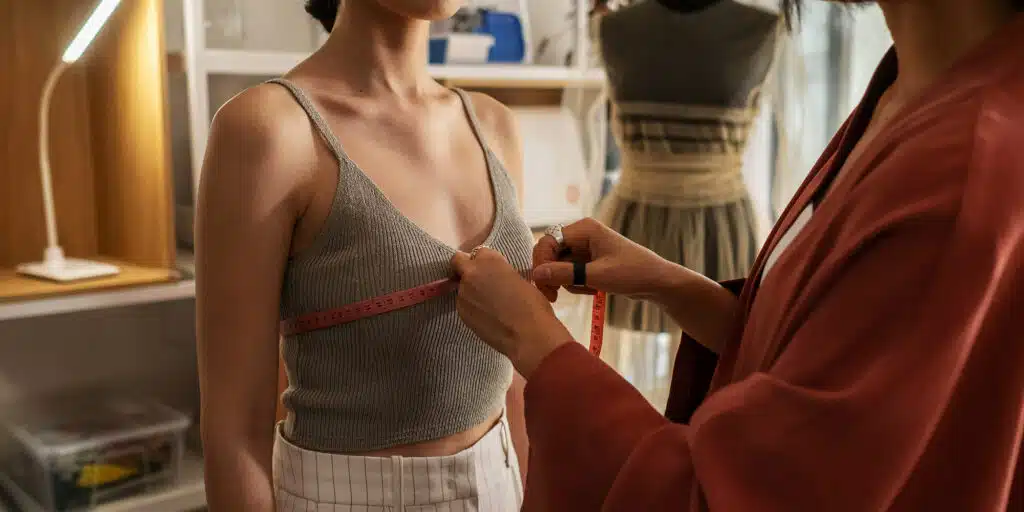


Taking accurate measurements is essential in fashion, tailoring, and modeling industries. Whether you’re preparing for a fashion shoot, ordering custom clothing, or fitting costumes, precise measurements help create a perfect fit and avoid costly alterations. This guide will cover model measurements for women, men, and children, ensuring a tailored fit for any modeling or clothing project.
In this post, we’ll explore how to measure each body part accurately, techniques for avoiding common measurement mistakes, and tips to achieve the most consistent results.
To take accurate model measurements, you’ll need a few essential tools:

Measure around the fullest part of the bust, ensuring the tape is level with the floor and not too tight or too loose. It’s crucial to align the tape under the arms and around the shoulder blades for accuracy.
Find the natural waist, which is usually the narrowest part of the torso. Let the model relax her stomach and breathe normally. Wrap the measuring tape around the waist and ensure it is parallel to the ground for an accurate reading.
Position the measuring tape around the widest part of the hips, usually at the top of the thighs. It’s essential to keep the model’s feet together for consistency.
With the model standing straight, measure from one shoulder bone to the other. This measurement is especially important for tops, jackets, and dresses.
Measure from the top of the inner thigh down to the ankle. This length is crucial for trousers, jeans, and full-length dresses.
Starting from the shoulder bone, run the tape measure down to the wrist. Make sure the arm is slightly bent when taking this measurement for added comfort in sleeves.

Men’s measurements typically focus on broader aspects, such as chest and shoulders, and follow similar steps to women’s measurements with some adjustments.
Measure around the widest part of the chest, keeping the tape high around the armpits. Ensure that the model’s arms are relaxed and at their sides.
Wrap the tape measure around the natural waistline, where the torso bends slightly. It’s important to avoid pulling the tape too tight as this could distort the measurement.
Men’s hip measurements are often slightly lower than women’s and are taken around the widest part of the hips.
Place the tape measure around the base of the neck. For comfort, leave some slack to avoid a too-tight measurement. This is crucial for shirts and ties.
Start from the shoulder seam and extend the tape down to the wrist bone. For long-sleeved shirts, this measurement ensures the sleeve doesn’t fall too short or too long.
Measure from the inner thigh down to the desired pant length. Many men prefer a slightly longer inseam for added comfort.

Children grow rapidly, so their measurements often need updating. For accuracy, follow these basic guidelines while ensuring they stay comfortable.
Wrap the tape around the fullest part of the chest. Ensure they’re standing still for a steady measurement.
Find their natural waist, usually above the belly button, and measure around it without pulling the tape too tightly.
Similar to adults, children’s hip measurements should be taken around the fullest part, typically over the bottom.
Ask the child to extend their arm slightly. Measure from shoulder to wrist, keeping the arm relaxed.
For pants or full-length garments, measure from the top of the inner thigh to the ankle bone.
Ensure the child is standing straight against a wall. Measure from the top of their head down to the ground.
What’s the difference between hip and waist measurements?
Waist measurements are taken at the natural waist, the narrowest part, while hip measurements are around the widest part of the lower torso.
How often should children’s measurements be updated?
Every 3 to 6 months is ideal, as children grow rapidly.
What’s the best way to measure inseam for men and women?
For men, start from the crotch down to the desired length. For women, measure from the top of the inner thigh to just above the ankle for an ideal fit.
Why are multiple measurements needed for one model?
Different clothes require various fits, so having multiple measurements allows for custom tailoring and better overall fit.
Can I use a string instead of a tape measure?
A string can work in a pinch, but a flexible tape measure is more accurate and reliable.
Taking model measurements is a crucial skill that requires attention to detail, accuracy, and patience. With this guide, you can confidently measure women, men, and children for tailored clothing and fashion requirements. Remember, the right tools, consistent techniques, and proper posture can make all the difference in achieving an impeccable fit for any garment.